
My first order!
As mentioned in my previous post no bake cheese cake, during recent Raya lunch sharing session one of my colleagues shared with me that he brought back a slice of cheesecake for his little niece and she liked it so much that she wanted it for her birthday cake. I thought it was no more than a flattering compliment.
2 weeks later, to my surprise he really approached me to ask for the same cheesecake for his niece’s birthday celebration!
So here is another version of the no bake cheese cake with lemon.
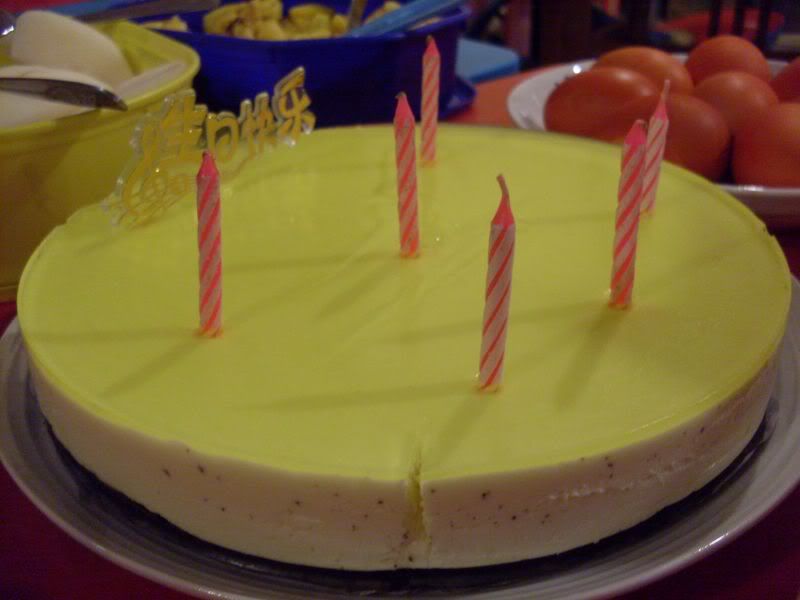 |
| Lemon Cheese Cake 冰冻柠檬芝士蛋糕 |
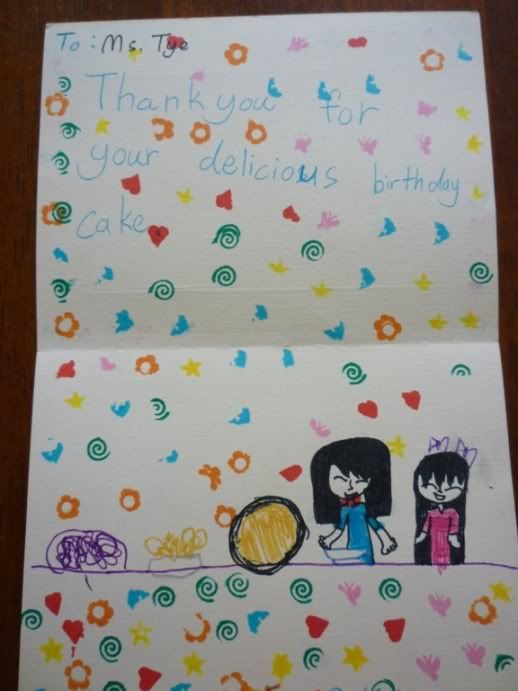
I was glad that the cake turned out nicely and the six years old birthday girl and family members liked it very much. She even made me a lovely little thank you card! J
Non- bake Lemon Cheese Cake

Crust
150g crushed Oreo Chocolate cookies
70g butter, melted
Fillings
250gm cream cheese softened
250ml whipping cream, whipped
105gm caster sugar
1 lemon, zest and juice (use half for the fillings)
3 tsp. gelatin powder
½ cup hot water
Toppings (Optional)
2 tsp gelatin powder
200ml water
2 tsp caster sugar
2 tsp or half of the balance of lemon juice
Few drops of lemon paste/yellow-colouring
Method:
Crust:
Fillings:
1. Dissolved 3 tsp. gelatin powder into half cup of hot water.
2. Beat cream cheese with sugar till smooth.
3. Mix in lemon juice and gelatin and beat well.
4. Gently fold whipped cream into cheese mixture.
5. Pour into the cake pan and chill in the fridge for 3 hours before decorating with the toppings.
Toppings (Optional)
1. Heat gelatin powder in a small saucepan with water, sugar and lemon juice, till dissolved.
2. Remove and add in a drop of lemon yellow colour.
3. Cool slightly and gently spoon on top of the cheesecake.
4. Chill again in the fridge for 3-4 hours.
冰冻柠檬芝士蛋糕
材料 :
饼底
150克Oreo巧克力饼干
70克牛油,融化 馅料 250克奶油芝士
250克生奶油(英文:whipped cream)
1 粒柠檬,榨汁,使用一半柠檬汁
300毫升鲜奶油
200毫升热水
2小匙砂糖 2茶匙或适量柠檬汁 适量柠檬香精或黄色素 方法:
2. 用半杯热水,搅拌溶解3茶匙明胶,冷却后再使用.
3. 将奶油芝士放入一个容器加入砂糖,用打泡器打到奶油粘膏状程度
4. 加入冷却的明胶和柠檬汁搅拌,后加入生奶油搅拌均匀。
5. 从冰箱中取出模型,倒入原料,在放入冰箱冷冻3个小时以上至成型
装饰(可选)
1。把2茶匙明胶溶于200毫升热水后添加糖和适量柠檬汁搅匀,待用。 2。添加几滴柠檬香精或黄色素。
3.一旦柠檬明胶降温倒入芝士蛋糕上,放回冰箱再冷冻3-4个小时。
|

sincerely thanks again from the parent of the birthday girl, the cake is superb delicious and the 'putting cake on plate' process is also an eye opener, kind of 'canggih' for us too ... :)
ReplyDeleteDear Michael:
ReplyDeleteYou are most welcome, always pleasure to the cook or baker to have their food appreciated :-)
Glad I had made your girl a nice birthday to remember.
Great JOB!
ReplyDeleteaw this is damn cool! kudos! love the soft colors and the neat glazed and simple look! sure the six year old will remember you!
ReplyDeleteThoma:
ReplyDeleteThanks. Simple is what I'm good at hahaha....
I still yet to master the cake decoration technique will need to learn that soon :-)